Voucher based Captive Portal
The Voucher Captive Portal is a type of Captive Portal which allows the users to use voucher code to enable the Internet service.
Follow the below steps to create a Voucher based Captive Portal.
Step 1
Create the Ray Account and set up your first AP. Please follow the steps here, First-time setup of Ray
Step 2
Login to Cloud Controller using your username & password on https://cloud.ray.life/
Step 3
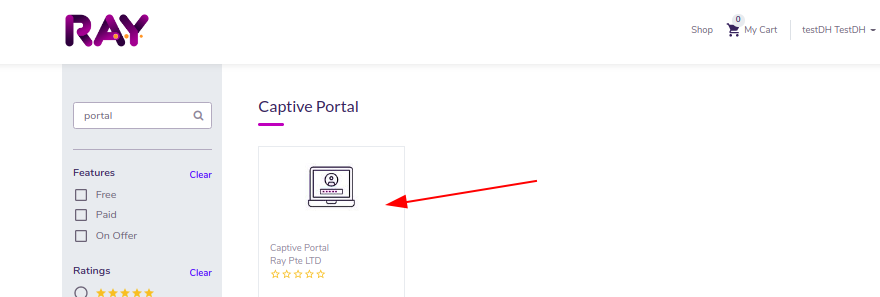
Click on App Store.
Step 4
Search for Captive Portal Application.
Step 5
Click on Subscribe or Trial.
Complete the purchase.
Step 6
Go To Subscription

Step 7
Go to the subscription and Activate Subscription on the AP. Press Save.
Step 8
Go to the Controller. Go to Templates. Click "Create Portal".

Select "Voucher" as the Template Type.

Press Select on the Template.

Note. In case you are not able to see Templates Screen, please do a hard refresh of the screen.
Step 9
Select Business Category. Leave the OTP Config as empty.
Press Save.

Step 10
Input the details.
Welcome Message: The message to be displayed on the Title of the Portal. Press the Save (Tick) icon.
Redirect URL. The URL to be redirected upon successful login. Press the Save (Tick) icon.
Background Image. You can change the default background image to the background image of your liking.
Logo. The business logo/icon can be updated.
Press Close.

Step 11
You can preview the page by clicking the link.
Step 12
Creating Policies
Please refer to the below article to create Policies, Understanding Policy.
Step 13
Creating Groups
Please refer to the below article to create Groups, Understanding Groups
Step 14
Creating Vouchers.

Fillup the appropriate details as per your requirement, as given in the below snapshot.

Step 15
Publishing Wi-Fi
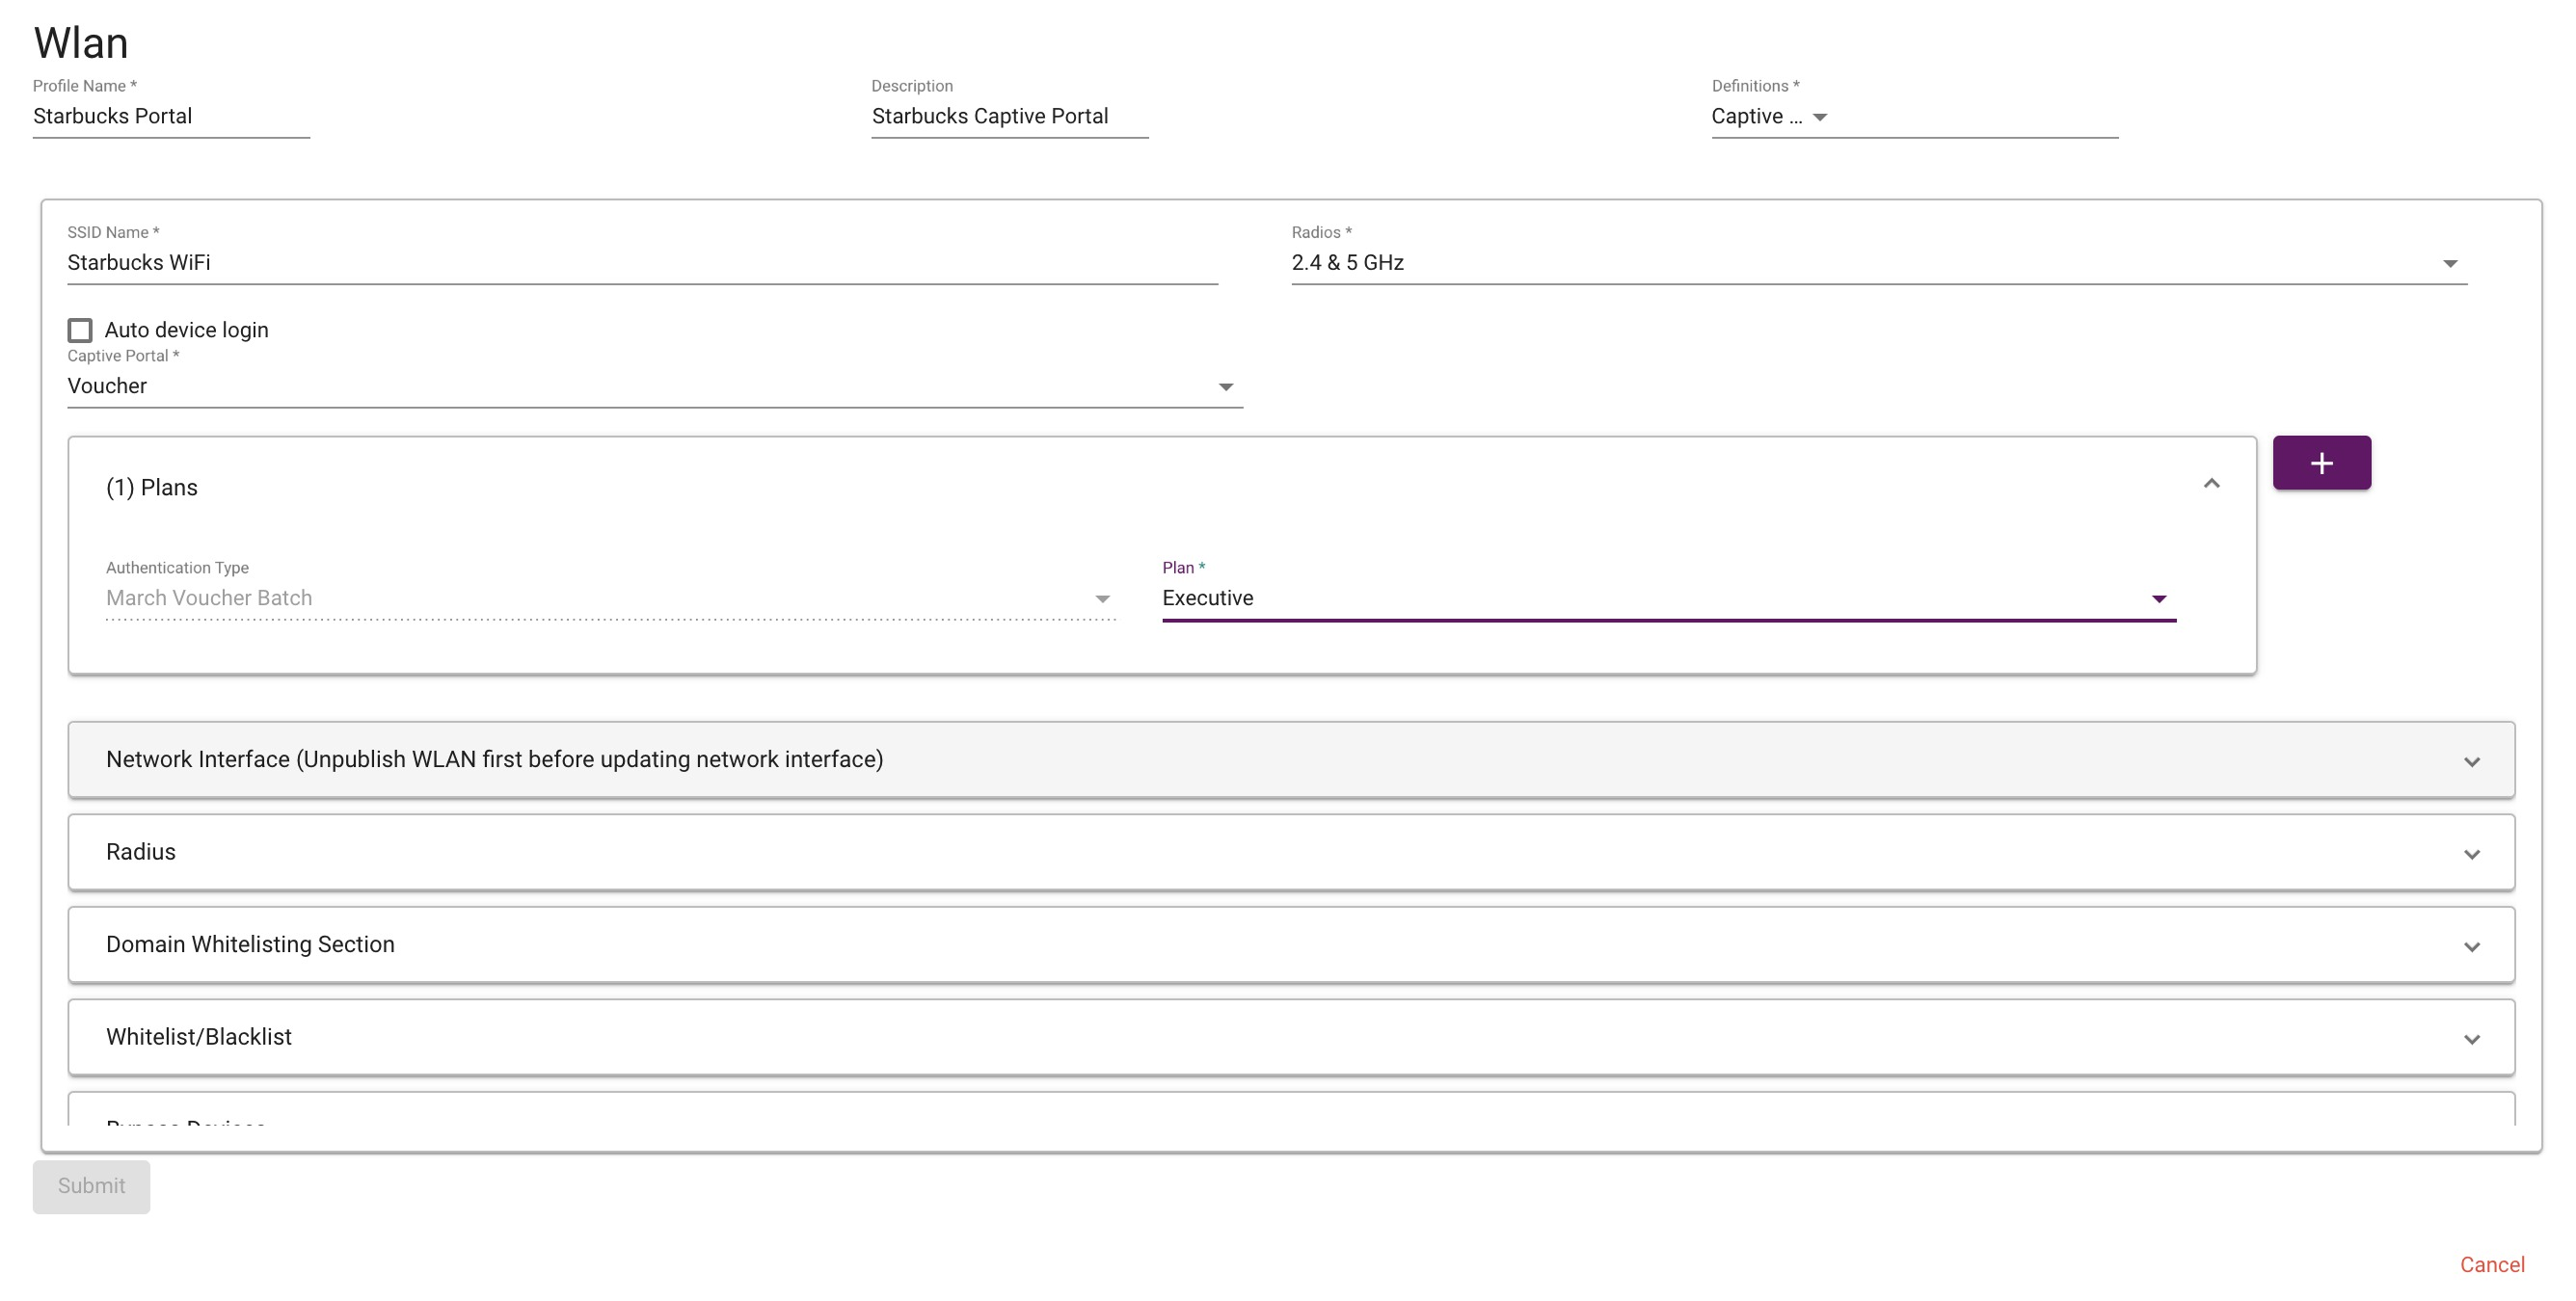
Go to Profiles -> Available Profiles -> Wlan
Input the below details.
Profile Name. Give a proper name to the Wlan profile.
Description of the Wlan Profile.
Definition. From the dropdown, select the Captive Portal.
Captive Portal. Select the Captive Portal Template created in Step 11.
Plans. Select the Group created Step 15
Network Interface. By default, the Wlan is Bridged to the WAN Interface.
Press Submit.
Step 17
Go to Actions & Select Attach.
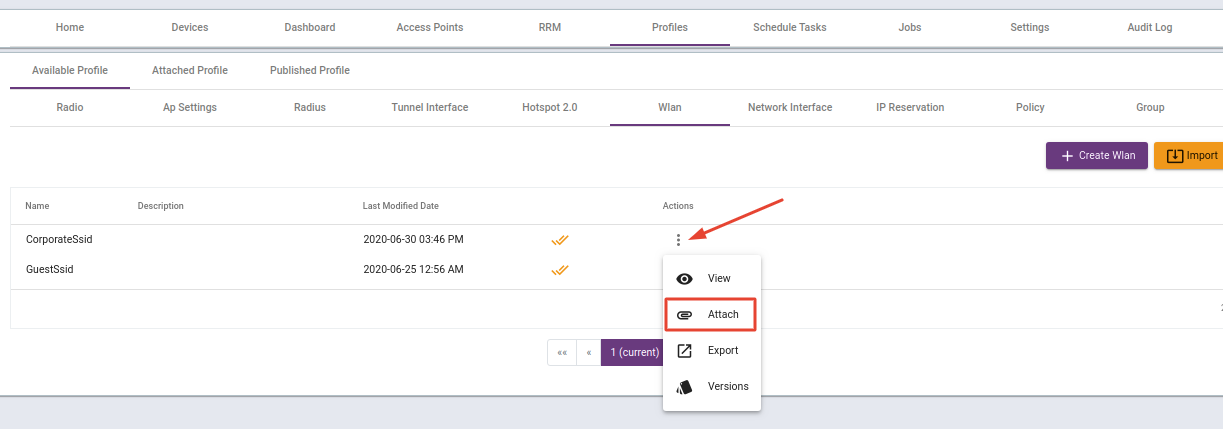
Step 18
Go To Profiles -> Available Profile -> WLAN.
Press Publish in the current cluster if you only have a single cluster.
Your Username & Password Captive Portal is ready!