Survey Captive Portal
The Survey Captive Portal is a type of Captive Portal which allows attending surveys to get the Internet service enabled.
Follow the below steps to create a Survey Captive Portal.
Step 1
Create the Ray Account and set up your first AP. Please follow the steps here, First-time setup of Ray
Step 2
Login to Cloud Controller using your username & password on https://cloud.ray.life/
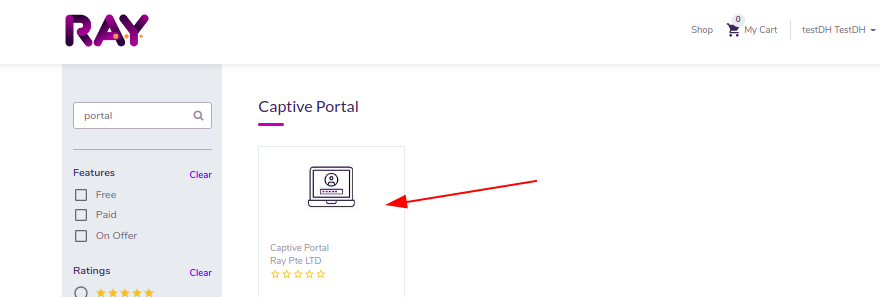
Step 3
Click on App Store.
Step 4
Search for Captive Portal Application.
Step 5
Click on Subscribe or Trial.
Complete the purchase.
Step 6
Go To Subscription

Step 7
Go to the subscription and Activate Subscription on the AP. Press Save.
Step 8
First of all, for Survey based captive portal, we need to create surveys.

Step 9
Click on the " Create Survey"
Enter the name of the survey you want, and click the "Save".

As soon as you click the "Save" button, the Add new question button will be enabled.
Now click on the "Add new question" button and create a survey you want, example is given in the below snapshot.

After finish creating surveys, please go ahead creating "Survey Portal"
Step 10
Go to the Controller. Go to Templates. Click "Create Portal".

Select "Survey" as the Template Type.

Press Select on the Template.

Step 11
Enter the Portal name and select the created survey from the list.
Leave the OTP Config as empty.
Press Save

As soon as you click the "Save" it will take you to the next screen asking for the "Welcome Message" and redirect URL details.
An example is given in the below snapshot.

You can also check the survey page preview.

Step 12
Publishing Wi-Fi
Go to Profiles -> Available Profiles -> Wlan
Input the below details.
Profile Name. Give a proper name to the Wlan profile.
Description of the Wlan Profile.
Definition. From the dropdown, select the Captive Portal.
Captive Portal. Select the Captive Portal Template created in Step 11.
Plans. Select the Group created Step 15
Network Interface. By default, the Wlan is Bridged to the WAN Interface.
Press Submit.

Step 13
Go to Actions & Select Attach.

Step 14
Go To Profiles -> Available Profile -> WLAN.
Press Publish in the current cluster if you only have a single cluster.