Once logged in, navigate to the Captive Portal, Types of Captive Portal section from the main dashboard or menu.
Step 1: Create a New Captive Portal
- In the Captive Portal page, click on the +Create Portal button to create a new portal.

Step 2: Configure Pre-Authentication Settings
- On the Pre-Authentication tab, click on Skip to bypass any additional pre-authentication configurations.
Note: Pre-authentication refers to the process of verifying a user's identity or device before granting access to a network or service. It typically occurs before the main authentication procedure. Pré-authentication helps to improve security by filtering out unauthorized devices or users early in the connection process, reducing the risk of security breaches.

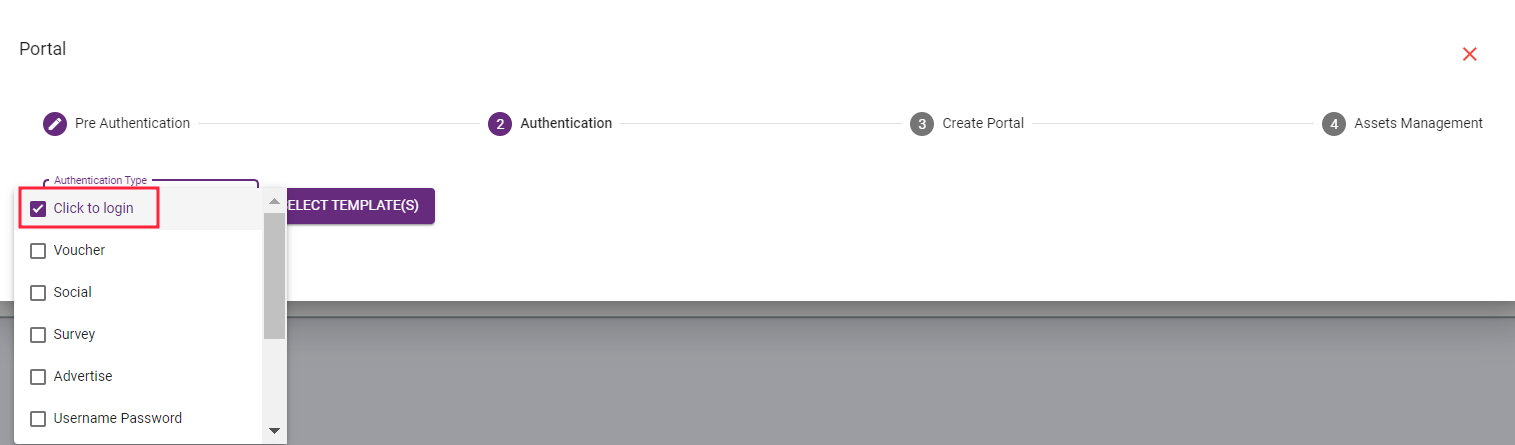
Step 3: Select the Authentication Type
- Under the Authentication section, select the Click to Login Type from the available options.
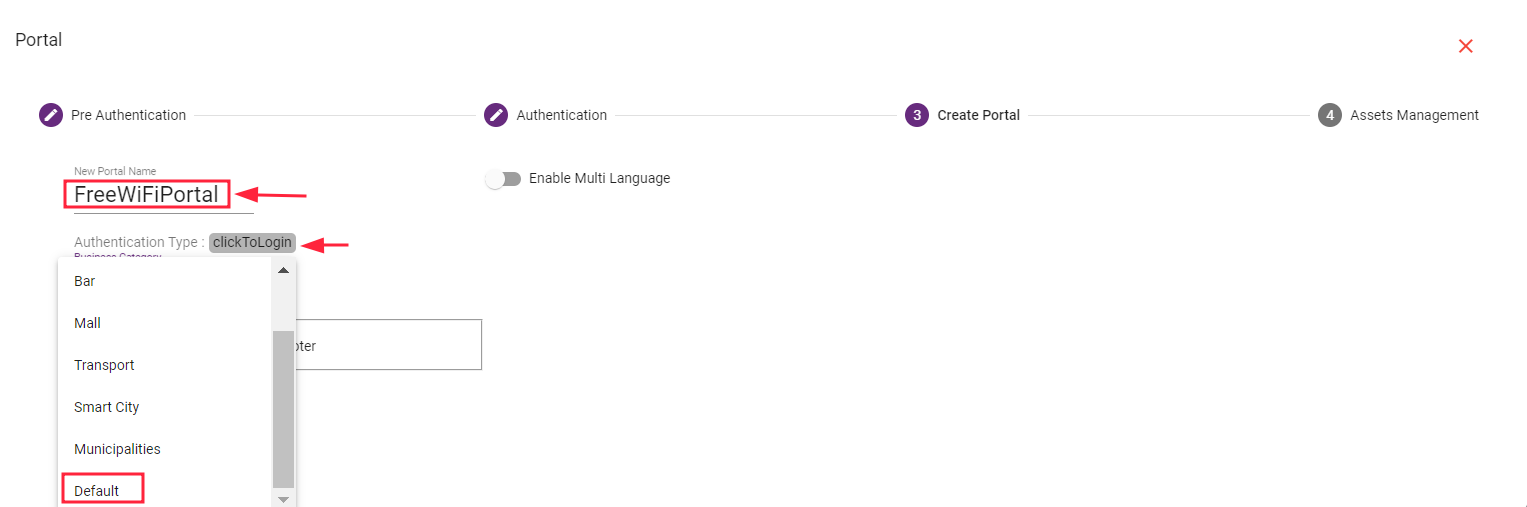
Step 4: Assign a Name to the Portal
- Assign an appropriate name for the Captive Portal. This name will help you identify the portal for future management or updates.
Example: "FreeWiFiPortal"
Step 5: Select the Business Category
- From the Business Category dropdown, select the category that best represents your network. This could be something like Café, Restaurant, Bar, Mall etc. (If you want to select other Category Select "Default" from dropdown).
Click on Save to save configuration.
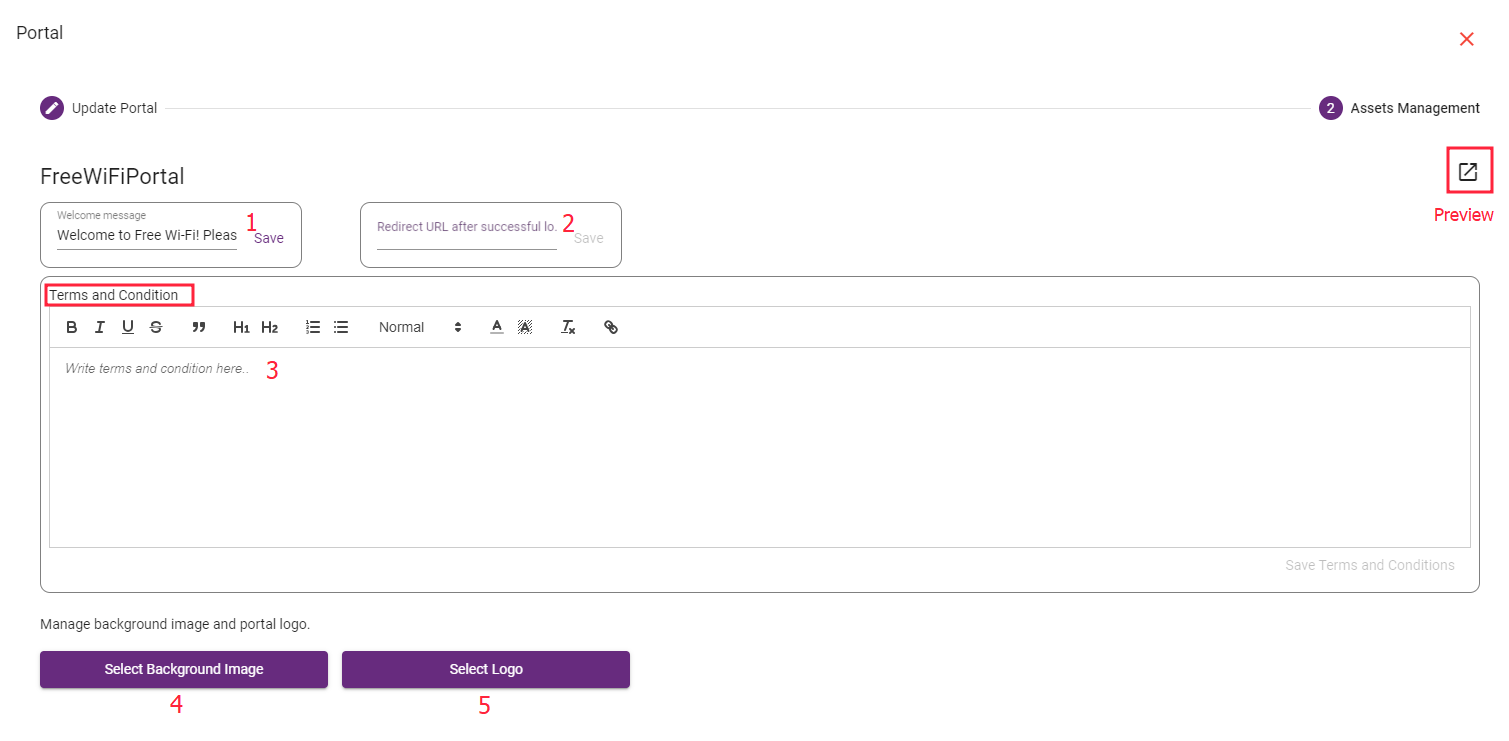
Go to The Assets Management (Optional) page to customize the Welcome Message.
- Add Welcome massage as per your requirement.
Example: "Welcome to Free Wi-Fi! Please click below to access the internet."
- Add URL which you want to redirect After successfully connected with internet.
Click on Save.
- If you want to Add Terms and Condition, Add as shown in figure.
In the Assets Management page, you can also Upload a logo and Image to personalize your portal’s page.
- Click the Upload Logo option and select your logo file (ensure it meets the required file format and size).
- Click to Select Background Image as per your requirement.
If you want to see how the captive portal looks, click on the Preview button.
Step 6: Apply the Changes
- After assigning the name and selecting the business category, review the settings and click Save to create the Captive Portal.